
News: 1,000,000 Spiders Weave Rare Silk
A rare textile woven from the silk of more than one million spiders is currently on display at the American Museum of Natural History in New York City. The incredible textile measures 11 by four feet, and is the largest piece of spider-woven textile in the world.
How To: Tie a four strand round braid easily
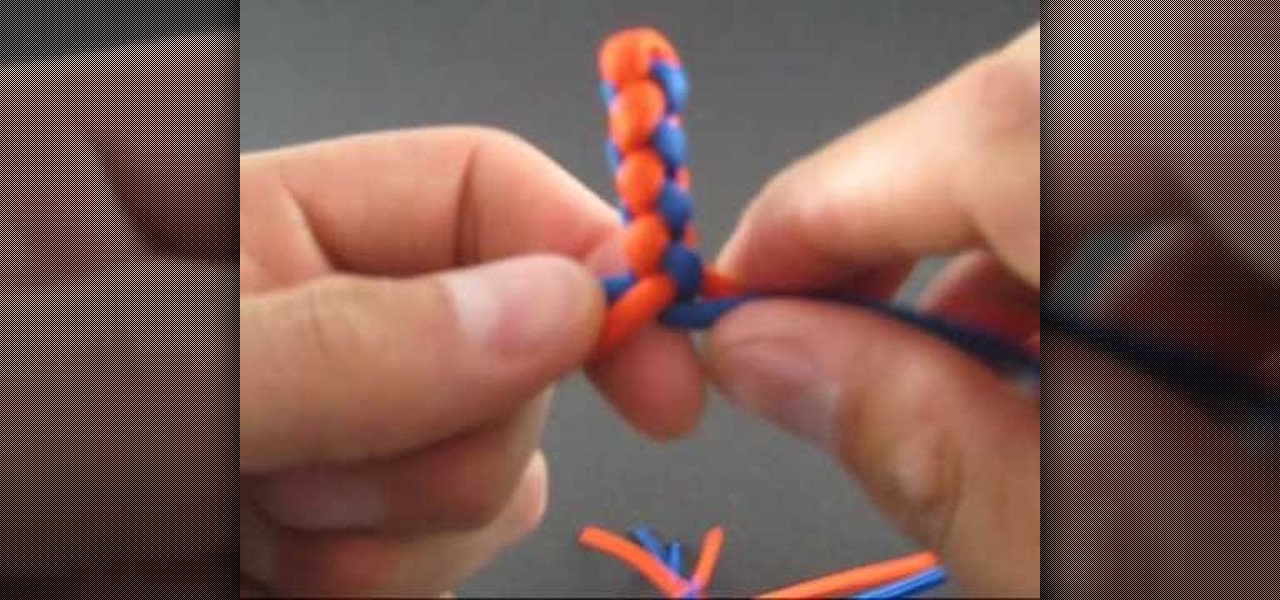
If you are interested in tying something cool just for fun, check out this next tutorial. In the video, you'll be finding out how to tie a four strand round braid easily. There are many tutorials on how to tie a four strand braid, but they can be very confusing and that's no fun.
How To: Tie a two color snake weave
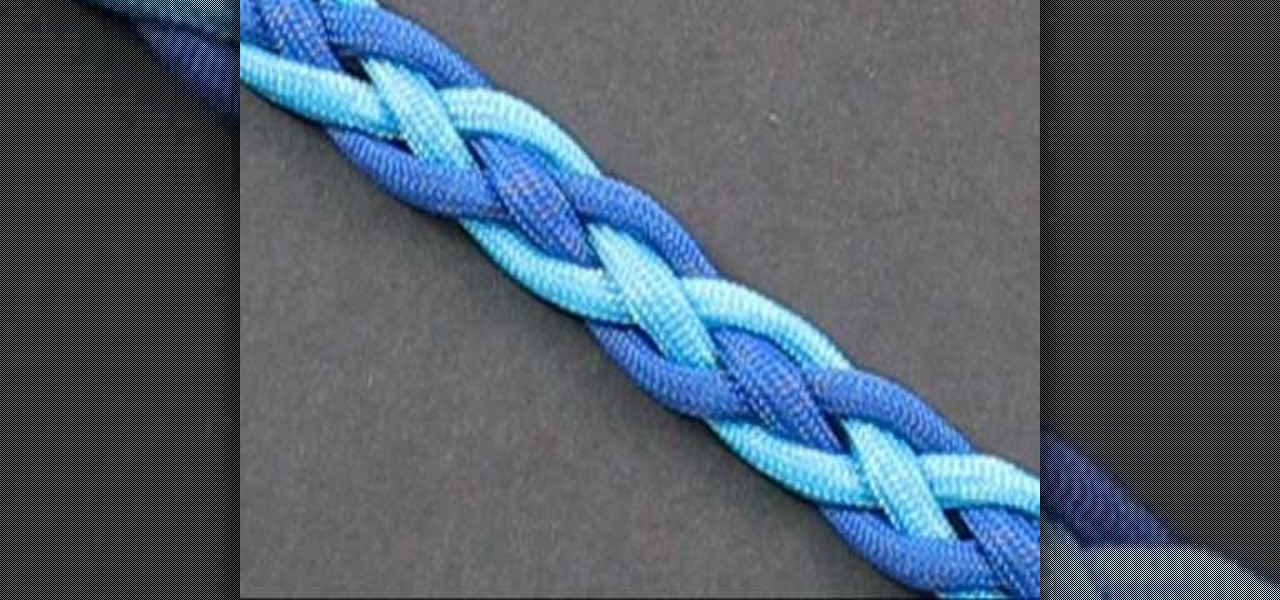
The great thing about weaving, is not only can you make something that is fun to look at, but can be used in certain situations. This next tutorial is going to show you how to tie a two color snake weave. The weave is basically a celtic knot that is perfect to use as bracelets and straps. This weave is different from an original snake weave in that it adds something extra and can't wrap around itself. So check out the tutorial and good luck!
How To: Easily make a ribbon rose
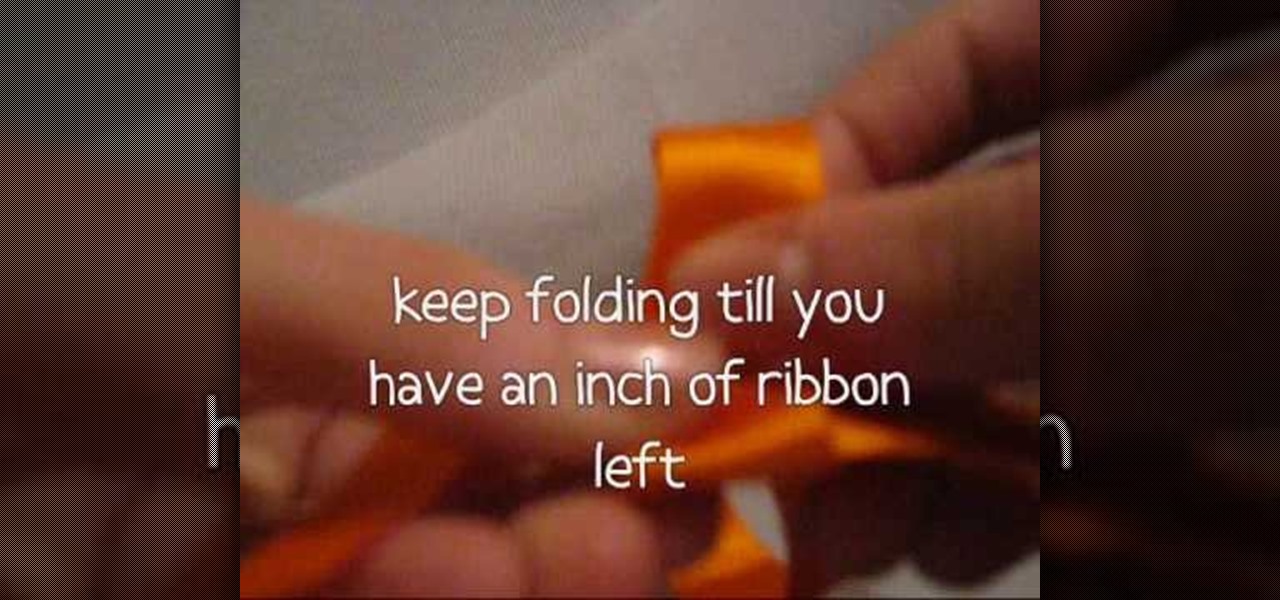
In this video tutorial, viewers learn how to make a ribbon rose. Users will need approximately 60 cm of 16 mm of satin ribbon. Begin by folding your ribbon in half and then pinch fold the end. Now fold the front half sideways and pinch it in place. Then turn it over and fold the ribbon to the opposite side. Keep folding until there is only about 1 inch of ribbon left. Users should end up with a pile of little folds. Pinch the two ends together and let go of the pile. As you pinch the ends tog...
How To: Start a square or cube lanyard
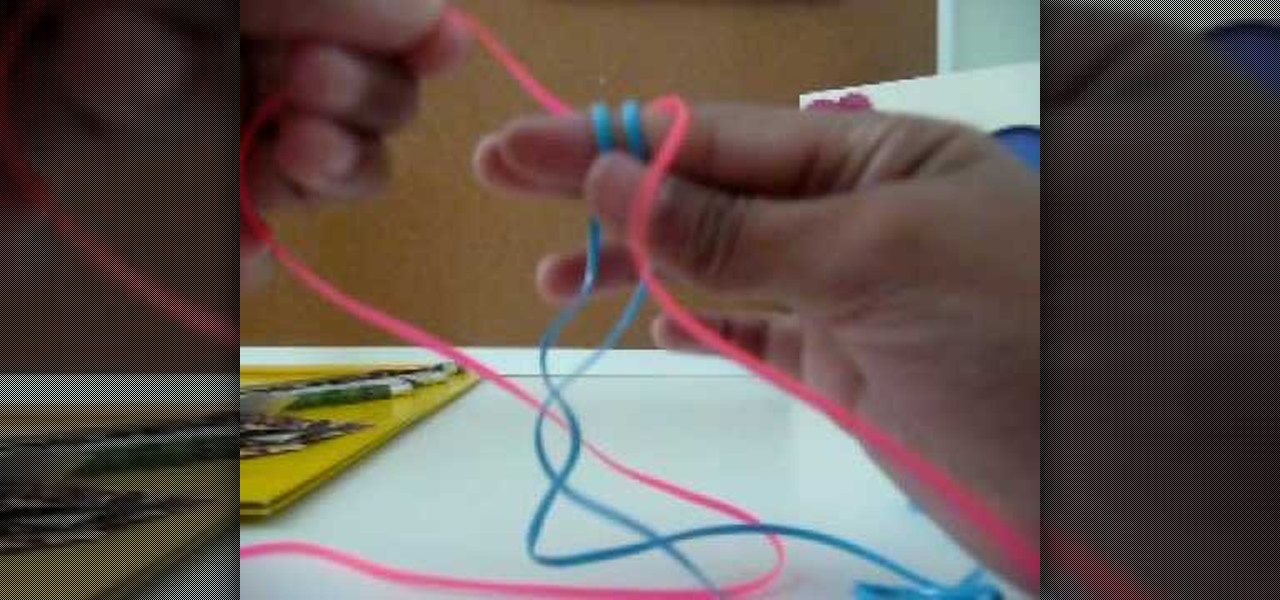
How to start a square or cube lanyard is demonstrated in this video.There are other videos to demonstrate how to stitch.
How To: Use a small wonder weave loom
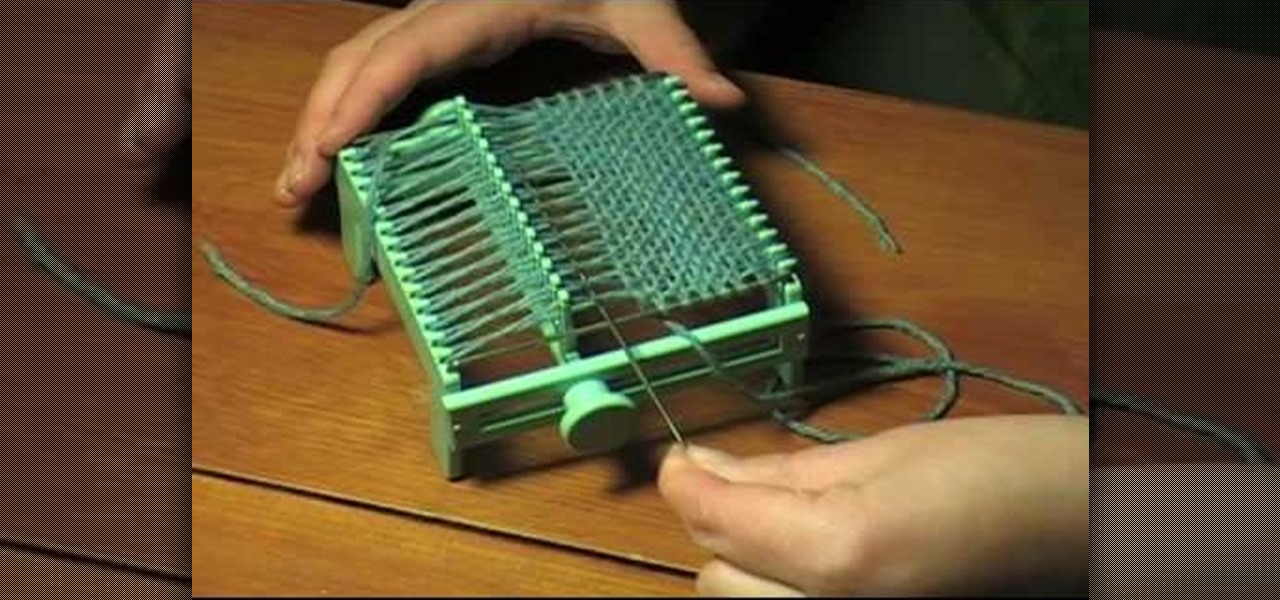
Learn how to make a four inch square with a Wonder Weave Loom. This is a specific small vintage loom. However, the warp winding and weaving techniques demonstrated can lend themselves to larger scale looms. Hopefully this weaving tutorial is helpful for beginning weavers looking to understand the warp and weft.

How To: Tie a Chinese crown knot using 550 paracord
If you're looking for survival knots or nautical knots then you've gone to the wrong place. But if you're looking to bolster your oeuvre of fancy, beautiful knots, then you've stumbled upon the right video.
How To: Tike a simple reef knot (a Solomon bar) using 550 paracord
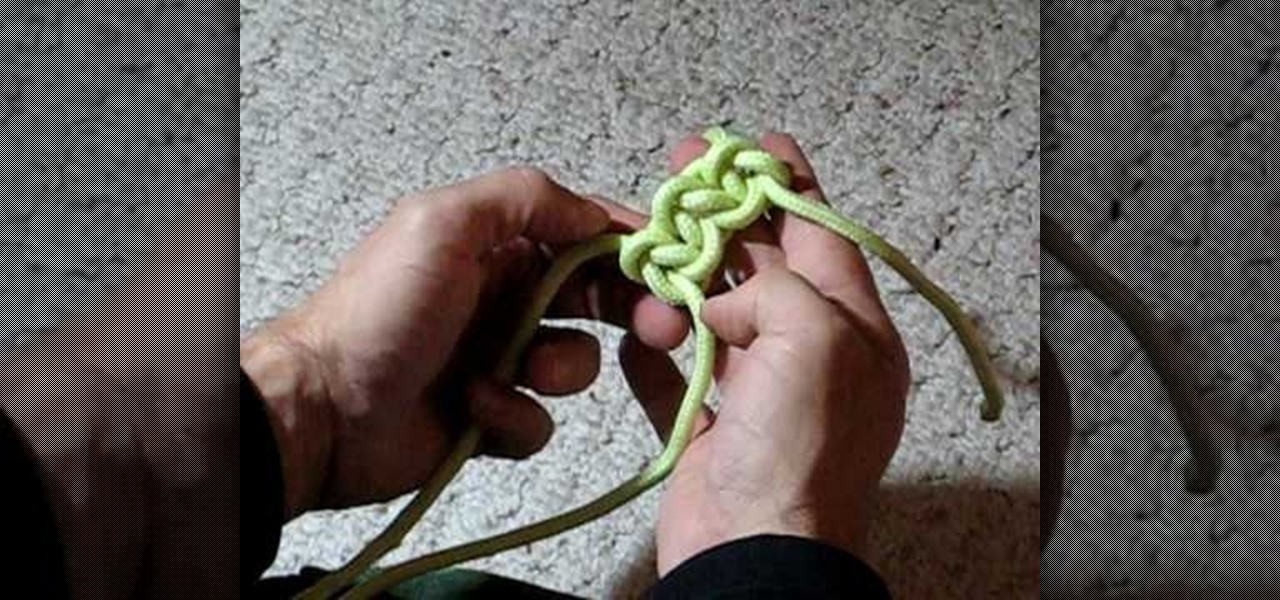
Paracord, or parachute cord, has a very interesting history. As its name implies, it was used to suspend parachutes in WWII. The super lightweight cord is used nowadays as a utlity cord in the military and other applications. The paracord, also known as 550 cord, has even been used in outer space by astronauts repairing the Hubble Space Telescope.
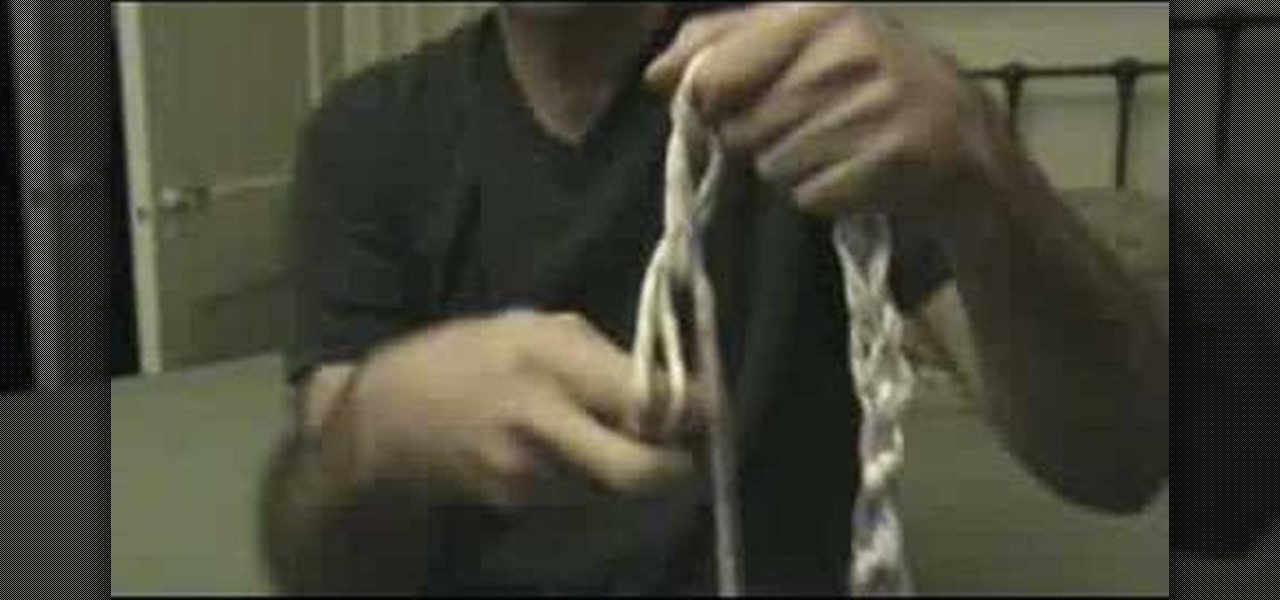
How To: Store rope to avoid tangles
This is how to store a rope so it will not tangle. If you have long lengths of rope to carry along on a boating trip or camping adventure, it helps to wrap the rope into an accessible yet compact series of loops. This rope will unwind easily for all your rope tying needs.
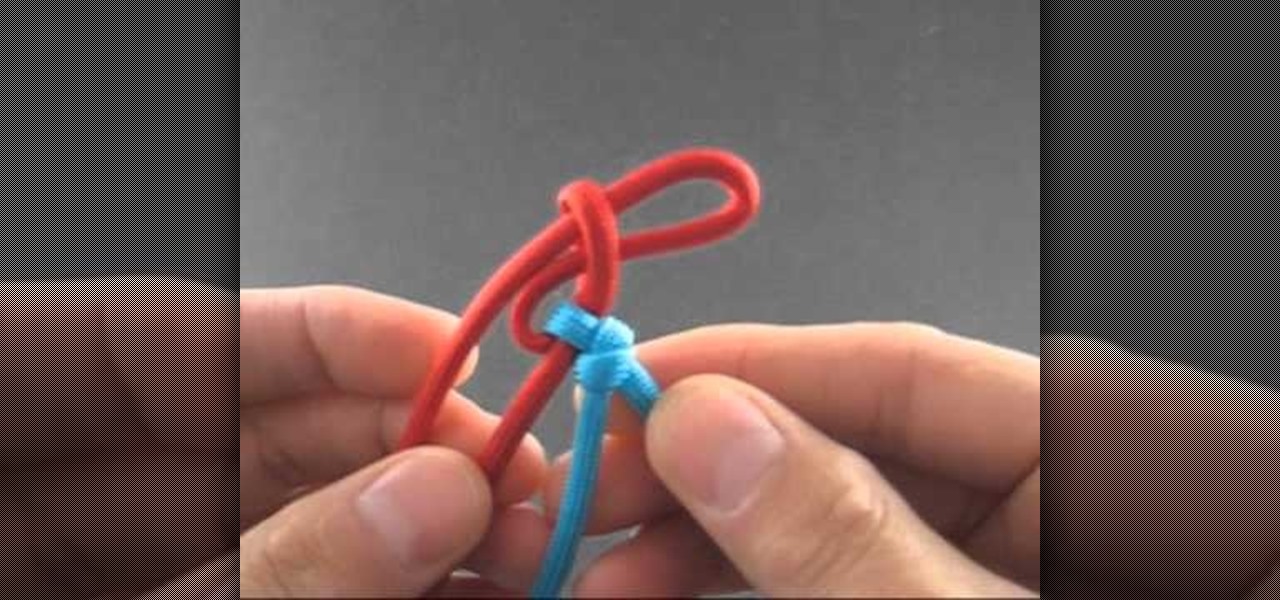
How To: Tie a decorative thorn branch sinnet with a zipper & caterpillar sinnet
Tying one on can be fun, so why not try tying two on! This clear and easy tutorial shows how to combine the Zipper Sinnet with a Caterpillar Sinnet to get the very smart looking Thorn Branch sinnet. You'll need 2.5 feet of 450 Paracord. Tie it today!
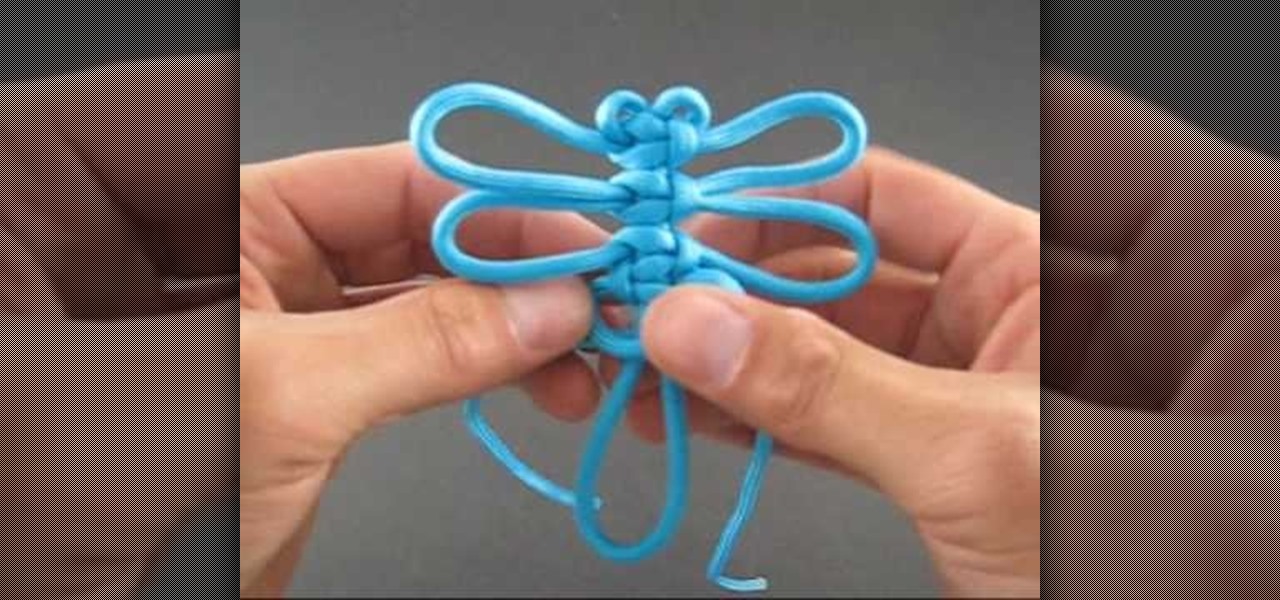
How To: Tie dragonfly knots easily
Tying knots can be fun and a great way to help pass the time. They can be used to decorate a variety of different things. For this video tutorial, you'll be finding out how to tie a dragonfly knot easily. It's a decorative Chinese knot and is one of the more popular ones searched for online. So check out the video above, pay attention, and enjoy!
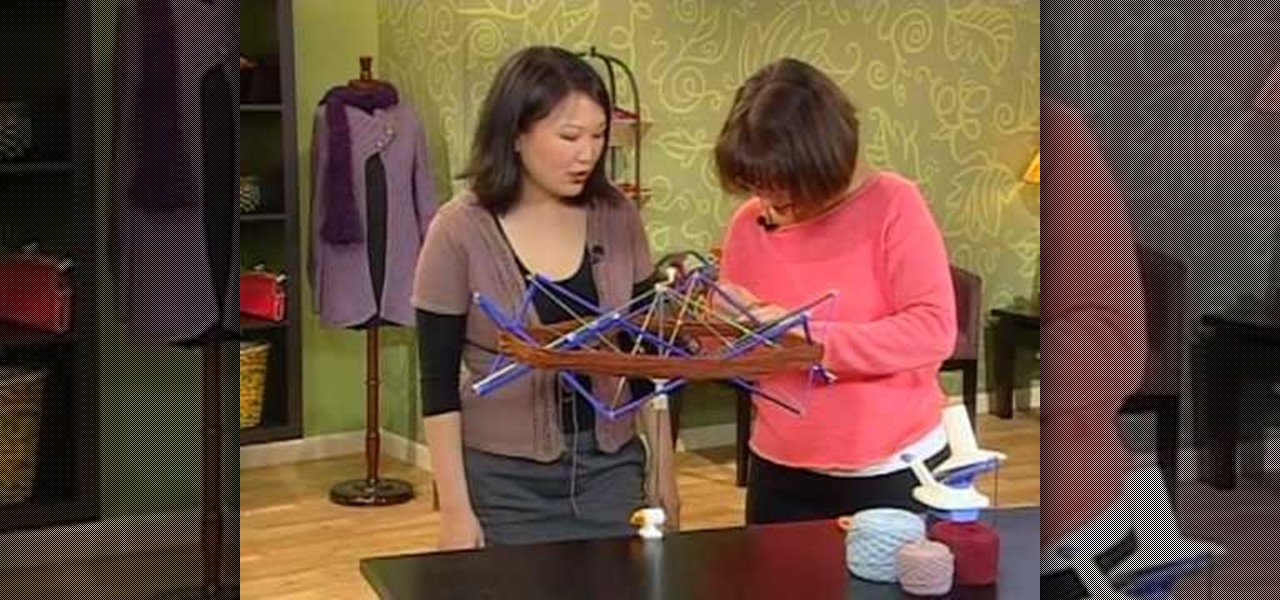
How To: Wind a skein of yarn into a usable ball
Like getting your watercolor papers and paints ready before you unravel a Monet-worthy masterpiece for the ages, knitting takes some prepwork that many beginning knitters may forget about. While it may seem that alll you need are two knitting needles and a ball of yarn, skeins of yarn often need to be unwound and then wound back up into a ball of yarn to make them usable.
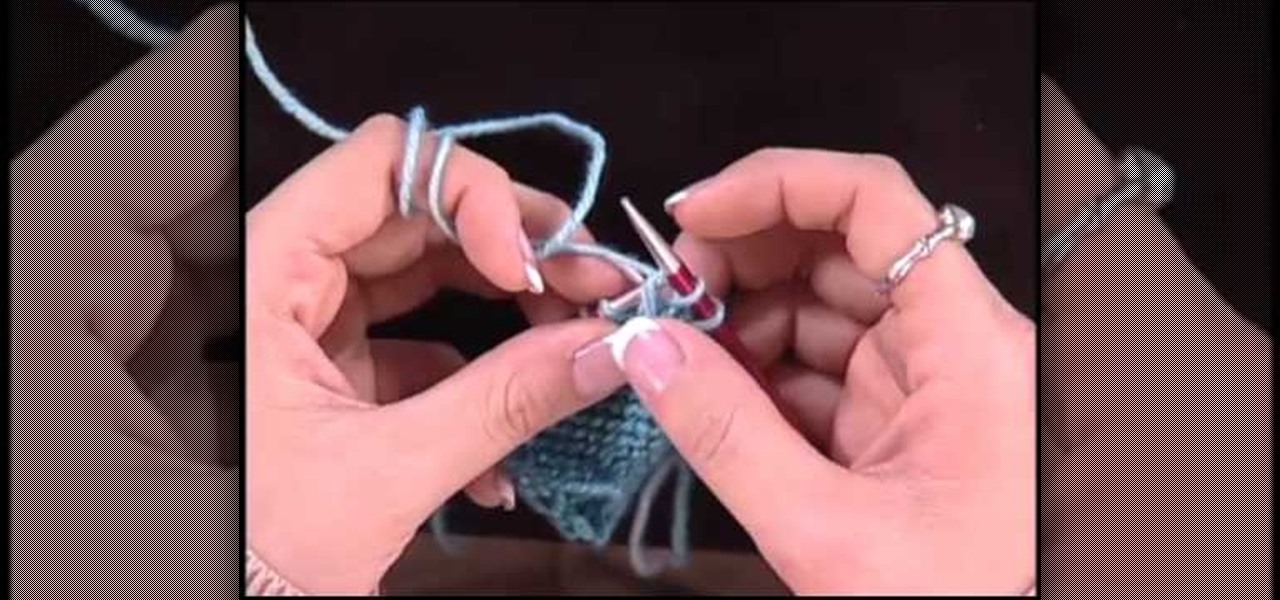
How To: Knit an invisible tubular cast-on with Eunny Jang
Are you 90% done with your lace shawl but have no idea how to finish the edges so they look rounded, complete, and not raggedy? Then a tubular cast-on may be just what you need to finish up the hems of your project in a professional manner.
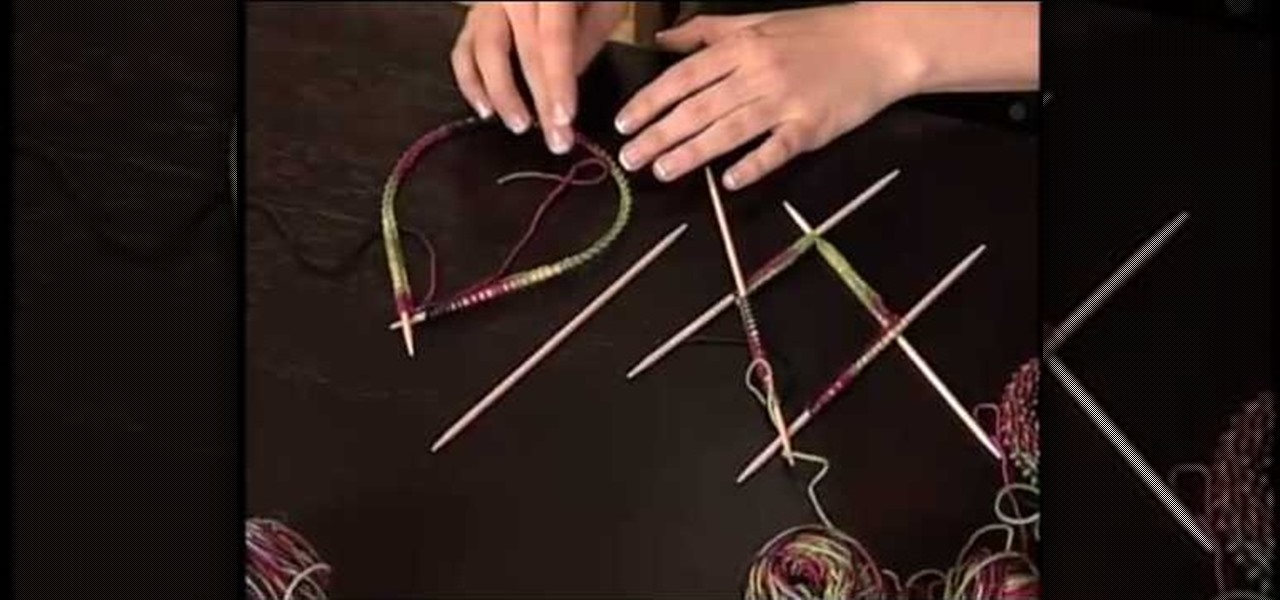
How To: Do cast-ons to knit a hat in the round with Eunny Jang
If you're a knitting beginner who wants to challange yourself with an impressive looking project, then you've hit the right how-to video. While there are many different ways you can knit a hat, the method presented in this tutorial is one of the simplest. You can simply vary the yarn color to produce different effects.
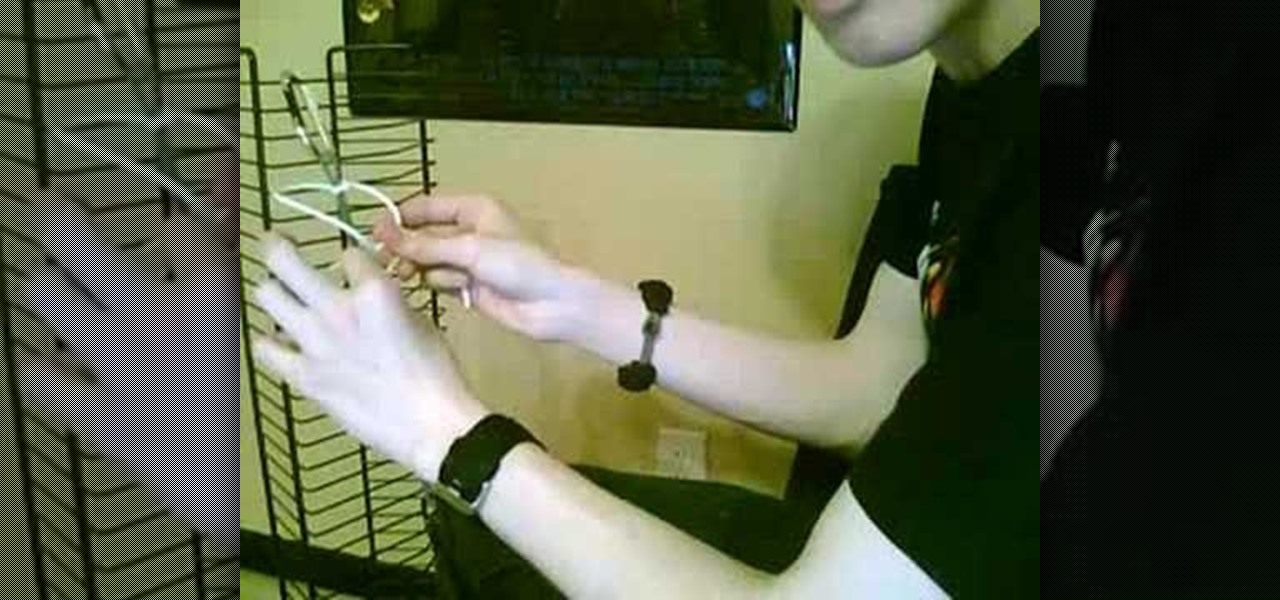
How To: Weave a (king) cobra stitch for parachord bracelets
In this tutorial, we learn how to weave a (king) cobra stitch for paracord bracelets. First, take a 10 inch cord, fold it in half, then tie a knot at the end of it. Put this on a holder, then tie another chord on the bottom of it and hold it with your knees for tension. Next, start to weave the other color chord around it by going in and out of the two sides of the first chord. Continue to do this for the entire bracelet, then knot it off at the end to finish. You can add your favorite colors...
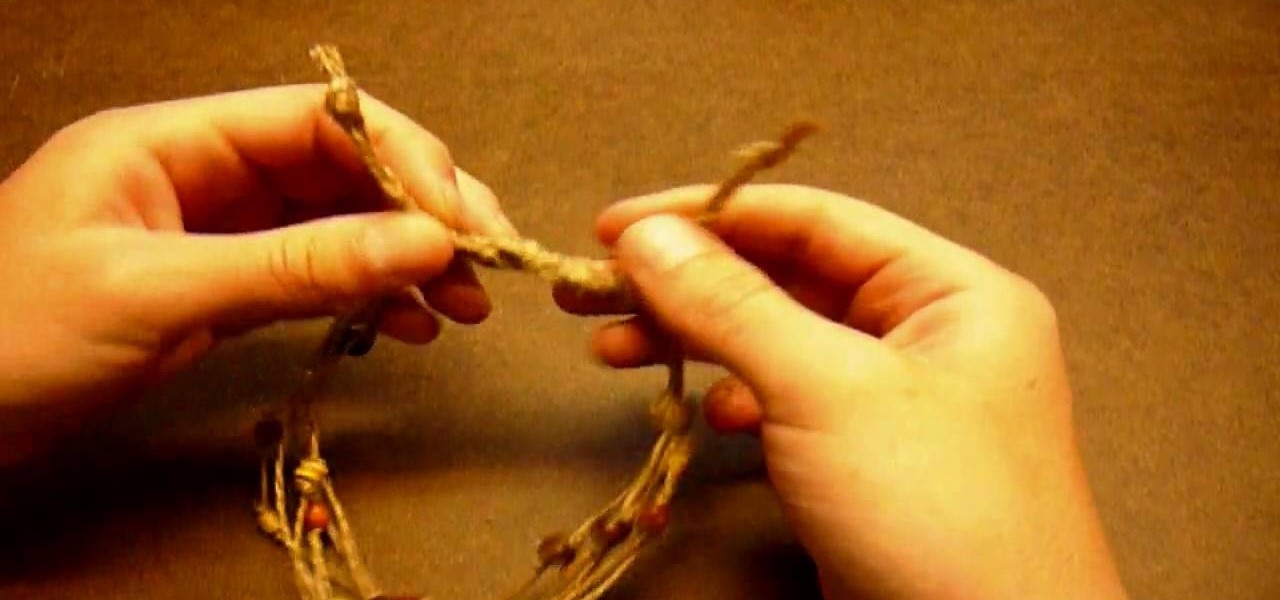
How To: Make a simple beaded hemp anklet
In this tutorial, we will learn how to make a simple beaded hemp anklet. Start off by measuring six 34" strands of hemp. Now gather the hemp strands and tie them into a knot at the end, pulling the strands tight. Clip the end into the clipboard and start to tie your hemp strands into a braid. When you reach the bottom, tie a knot and pull tightly. Now, add wooden beads onto your anklet and keep braiding in between these on other anklets. When you are finished, you can give these to friends as...

How To: Tie a sheep bend knot for camping
This video tutorial is in the Arts & Crafts category where you will learn how to tie a sheet bend knot for camping. Take two ropes, make a bite at the end of one rope. Pass the end of the other rope through this bite from underneath and come back through the loop in the second rope and pull it tight. This knot is used to tie two ropes of different sizes together. A variation to this knot is called the double sheet bend. Here you make two loops with the second rope and pass the standing end th...
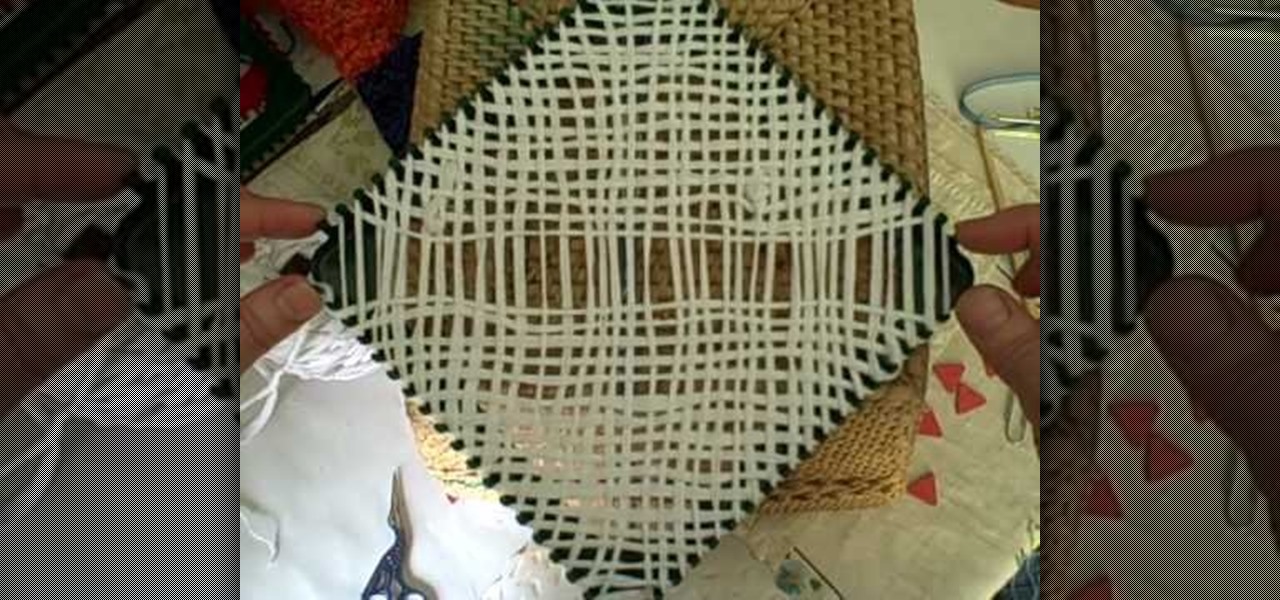
How To: Weave tarn (t-shirt yarn) on a potholder loom
A potholder loom is a square-shaped loom that allows you to weave thickly woven fabric, but often if you're not careful you can create gaps in between the yarn. But that problem will be completely solved in this video, in which you'll learn how to bypass the gaps. The result will be a basket weave-type fabric that's thick yet lightweight enough for summer scarves.
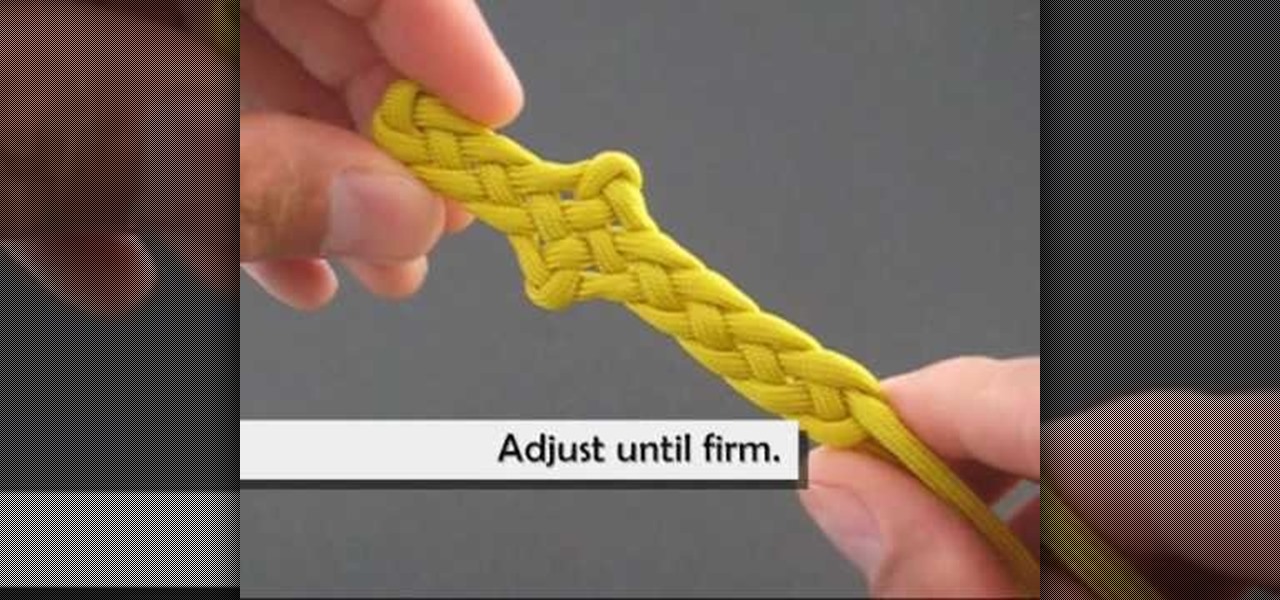
How To: Easily tie a Celtic dagger knot
When you think of a dagger, you imagine a weapon that is small in stature, but useful for thrusting and cutting things. This next tutorial is going to show you something that is incapable of performing those tasks.
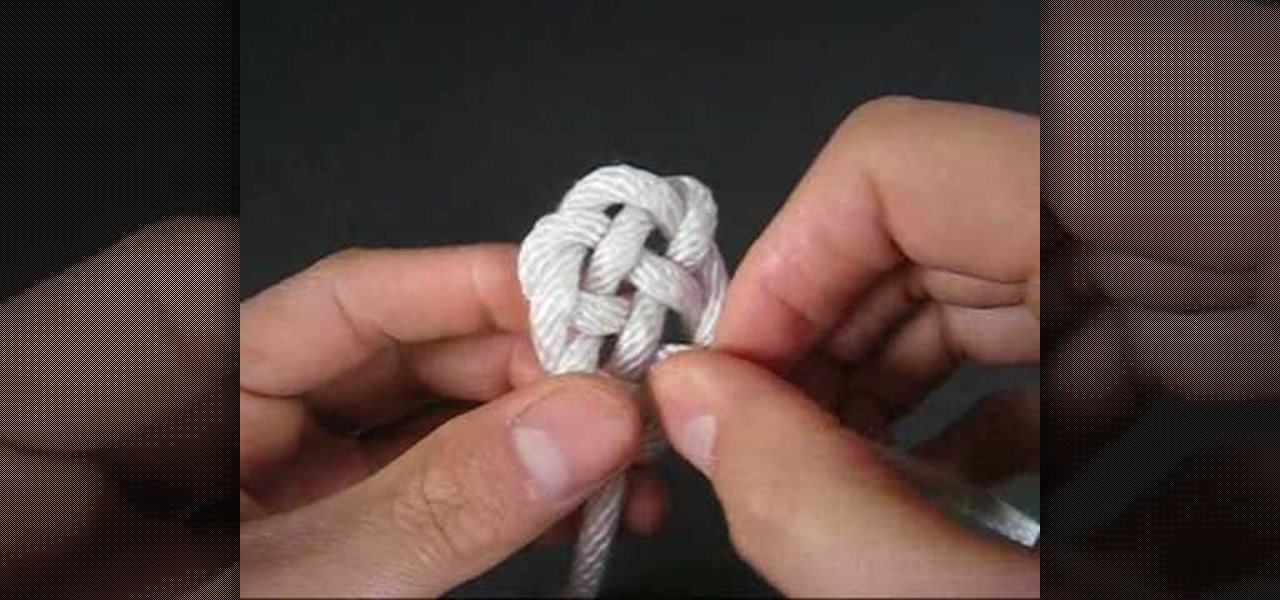
How To: Tie a keyhole weave knot
In order to create a Key Hole Weave Knot, you will need: rope or twine. Begin by making a loop. Then, make a second loop next to it. Cross the loops, placing one on top of the other. Weave a free end through the loops. Next, weave the other free end through the loop. Pull them both through carefully. Next, you'll need to shape your knot, by making sure that the spacing is even.
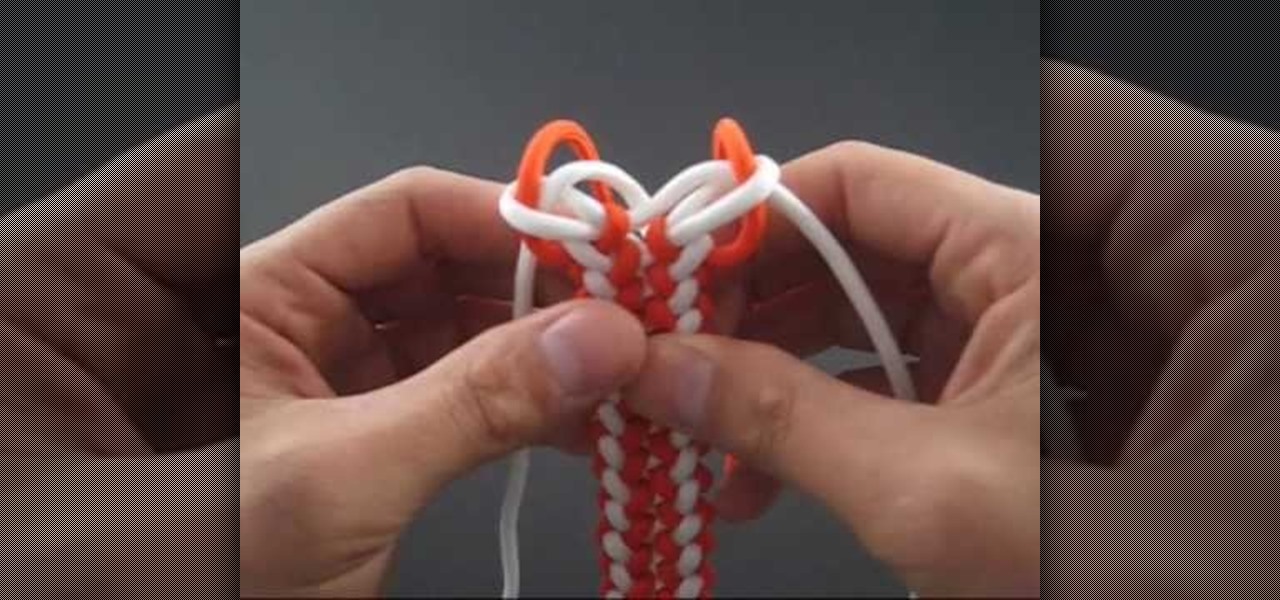
How To: Tie a wide-zipper sinnet
Need some help figuring out how to tie a wide-zipper sinnet? You've found it. This video crafts tutorial from TyingItAllTogether will walk you through the entire process. For specifics, including step-by-step instructions, and to get started tying your own wide-zipper sinnet, check out this crafty crafter's guide.

How To: Build a super simple mini loom to weave scrap fabric
Check out this tutorial for ideas on how you can use your left over scrap fabric. In this video, not only will you learn how to use a loom, you will build your own! This tutorial from Elizabeth Gleeson will walk you through the process of building a mini-loom and using it to weave new fabric out of scraps left over from old craft projects. This is a great way to recycle and create something unique - so get started!

How To: Make a grapevine wreath
If you happen to live somewhere where grapevines are prevalent or know someone who does, you are one step closer to making a truly unique piece of home decor.
How To: Make a pine cone wreath
Wondering what to do with all those pine cones that are building up around your yard? Well, in this tutorial, learn how to take those cones and turn them into a truly unique decoration for your home.
How To: Do a lanyard tornado stitch
In this how to video, you will learn how to do a tornado stitch. This stitch is similar to a quad stitch. However, instead of bringing the strands straight across, you bring them across diagonally. First, bring the purple strand up and to the left and bring the top purple strand down and to the right. Apply this to the yellow strands. Once this is done, bring the left orange strand right and upwards. Bring the right orange strand left and down. Go over and under and repeat. Do the same with t...
How To: Do a lanyard cobra stitch
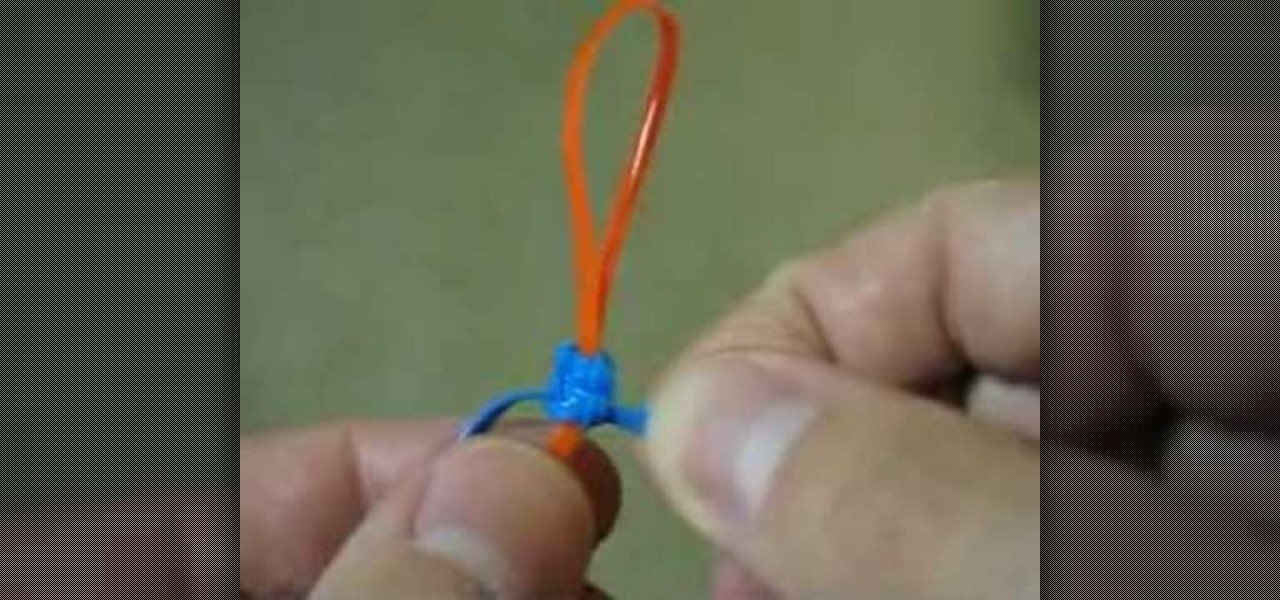
This video shows us how to do a lanyard cobra stitch. Here are the following steps. Step 1: First of all take two threads and make a loop of one thread.

How To: Do a lanyard super cobra stitch
In this Arts & Crafts video tutorial you will learn how to do a lanyard super cobra stitch. For this you will need two pieces of gimp cord; one piece about 15 times longer than the other. Start the same way as you would with a regular cobra stitch. Make a loop on both the cords and pass the loop on the shorter piece through the loop in the longer piece. Then pass the upper end of the longer cord around the shorter cord and pull it up from under through its own loop. Now pull both ends to make...
How To: Do a lanyard twisted triangle stitch
In this video tutorial, viewers learn how to do a lanyard twisted triangle stitch. Users will need 3 pieces of gimp with the same length. Take all 3 strings and tie a knot at the end. Now separate all 3 strands from each other and select one of the strands to be the top strand. Put the top strand over the second strand and bring the second strand over the third strand. Now run the third strand through the loop of the first strand. Pull on all 3 strands to make the stitch and repeat for the re...

How To: Make a clutch wallet out of duct tape
Watch this video and teach yourself how to make an easy and cheap clutch wallet using duct tape. The materials required for this are a pair of scissors, a rod, Velcro sticky tacks and duct tapes of different colors and you can use as many colors as you want. Cut out 12 inch strips of duct tape and stick five of them slightly overlapping one over the other. Then stick five more of the duct tape strips as in the above procedure so that the sticky sides of the two layers will be stuck together. ...

How To: Create your own modern wreath
Danielle Proud shows and discusses her version of how to reinvent the Christmas wreath. She uses black spray paint to highlight the leaves that she uses. After she sprays the leaves with the black spray paint she sprinkles glitter on to the painted areas of the leaves. Using a circular wreath frame she creates her vivid modern Christmas wreath. She makes sure to give you step by step instructions on her vision. When it is all said and done she shows you a finished wreath she has made using he...
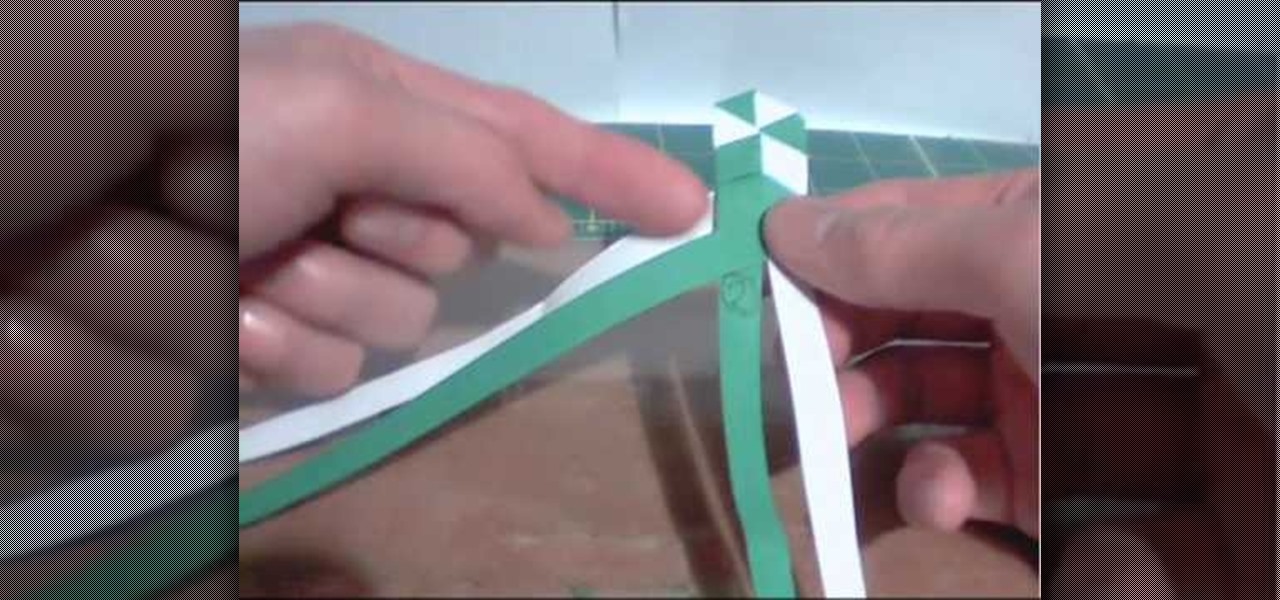
How To: Make a braided bookmark
A braided bookmark is pretty easy to make and can be a neat gift for a pal. This video tutorial teaches you how to make a braided bookmark using multicolored paper strips. Choose your favorite colors and even add some personal flair for the perfect design.

How To: Make a great looking holiday wreath
Six Minute Style host Susan Doherty is on location in Montana at the Nine Mile School house with Kurt Seer who shows how to create a 3 dimensional wreath mobile. He uses birch as his base. You can use any wood you choose. Make a square out of four branches. Knot, tie and twist floral wire at cross sections of the wood frame. Leave a little tail for the decorations. Tie dried rosemary in the wire tail. Tie leaves and greenery around the frame using wire. Not only for Christmas, you can create ...

How To: Make your own wreath from scratch
In this video, Meg will show you how to make your own wreaths. You’ll be creating two scenes on your wreaths : a woodland and an aromatic one. You’ll need 2 cardboard rings (one slightly smaller) cut in wreath forms, green moss, a hot glue gun, a knife, some pretty fabric, and a handful of old corks.

How To: Make a kissing ball for Christmas
Learn how to make a kissing ball for Christmas with these steps outlined in this video tutorial. A kissing ball is essentially a bunch of pine boughs in the shape of a ball decorated with red ribbon and pine cones that can be used as seasonal decorations. You need to cut the boughs of pine in the desired lengths you want. The longer the boughs, the larger the ball. You will need a florist's Styrofoam ball soaked in water, which will be covered with the pine boughs. Once the ball of pine is fo...
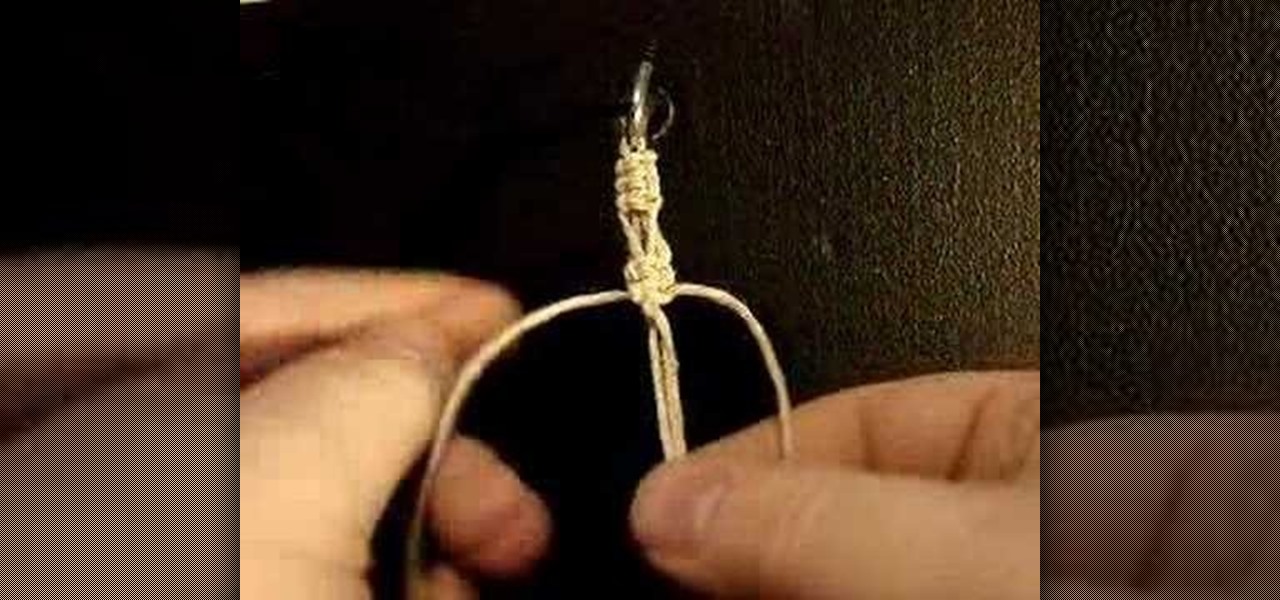
How To: Tie a slide loop clasp for hemp jewelry
Utleyville Hemp teaches us how to tie a slide loop clasp for all your hemp jewelry. First tie three square knots at the top then tie something like a switch knot. First take your knotters and bring them to the inside and tie a square knot or two square knots if you feel like it. Next tie the parts of the bead carrier together. After that tie some more square knots. After you're finished tying your jewelry, finish it by tying an overhead knot, leave a gap, and tie another overhand knot. Stick ...

How To: Make a basic hemp bracelet
In this video, lbedrick shows us how to make an easy hemp bracelet. First get some hemp and two beads. You will need one small bead for the end knot and whatever bead you want for the middle. Cut two pieces of hemp about 40 inches each and bend them in the middle. Where you bend the two pieces, tie a knot. Separate the two end pieces, then fold the right string over the base string, but under the left string. Fold the left string under the base strand, through the right loop, up and over, the...
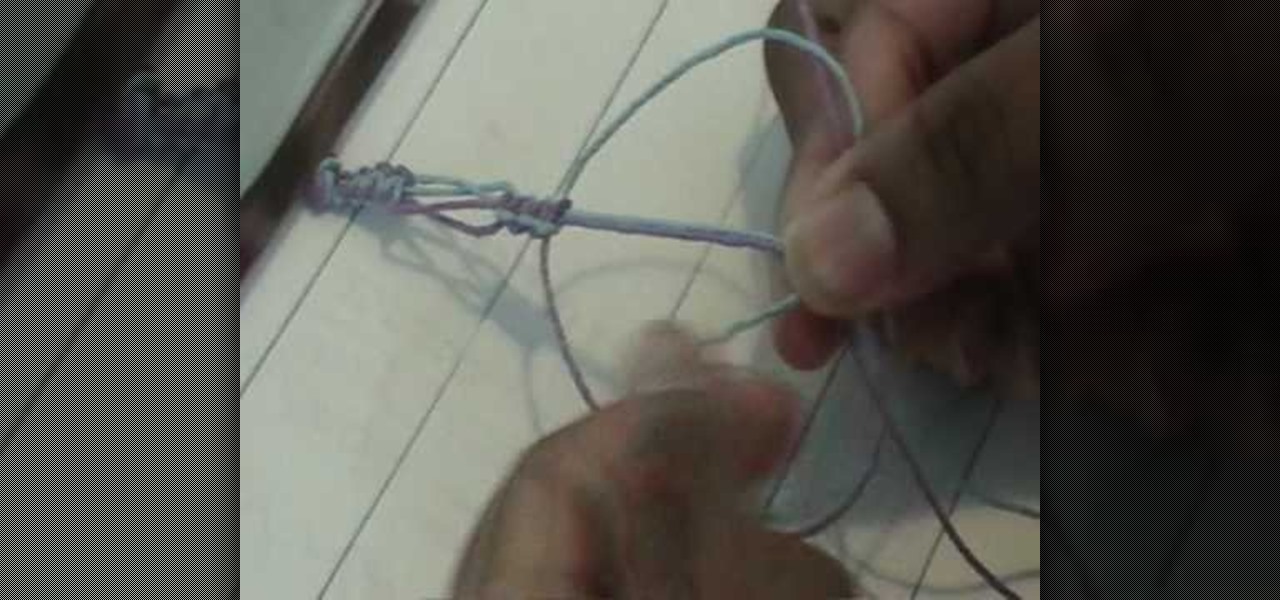
How To: Weave a switchback pattern hemp bracelet
This is the demo of preparing switchback pattern hemp bracelet. Its not a long process. In fact, it takes only 10 minutes to complete. The hardest thing is probably to make sure that each part of it is exactly the same size. Get a long piece of string and fold it into half. Grab the bottom part to make a loop. Before weaving, draw horizontal lines in a paper of 1 inches apart. Keep the paper on a clip board. Keep the loop between the clips. Then, keep one twine on the left side and another on...
How To: Make a simple dreamcatcher
Gather your hoop and supplies. Wrap the suede evenly around the entire ring. Wrap it either eight or sixteen times, depending upon your preference. Glue the ends to the hoop. Secure them with a clothespin until the glue dries. Make the web. Tie the nylon string to the suede. Make eight knots evenly dispersed around the ring. Keep the thread taunt between knots. Make a second row. Place each knot "between" the knots of the previous row. Continue in this manner until a small hole remains in the...
How To: Make a basic macrame hemp bracelet
It is one of the easiest method to make a basic macrame hemp bracelet. First get out your hemp twine, if you do not want to use hemp there is a wide variety of colored cord you can chose from, the thicker the cord the bigger your bracelet. Cut off two long strands and take one strand, fold it in half and loop it over a rounded stick such as a paint brush or pencil. Do the same to the other strand. Now, you have the four strands hanging down. Take the right strand, pull it over the two inner s...
How To: Make an easy dreamcatcher
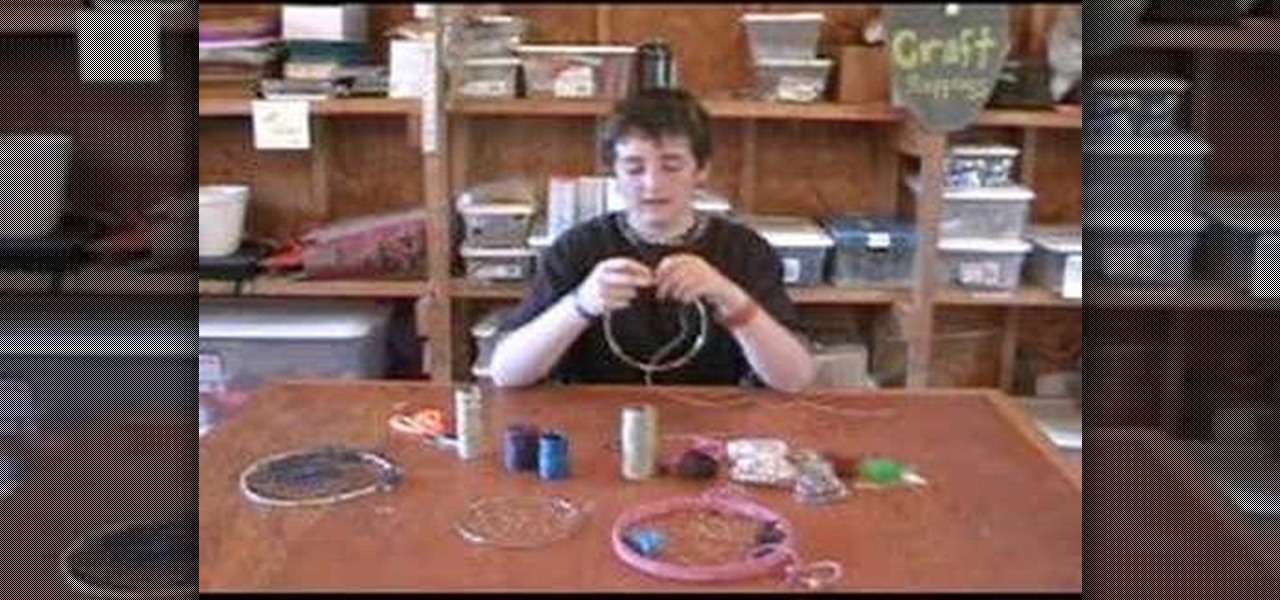
Arts and Crafts at Camp Watonka demonstrates how to make an easy dream catcher. Tools for the dream catcher include a ring, wax string, leather strips, pony beads, feathers, scissors and craft glue. First, cut a medium-sized piece of string. Tie a knot on the ring. Wrap the string around the ring two or three times and pinch it. Then, move to a different part of the ring and repeat the technique a few times. Add pony beads and feathers to the project. Glue the leather strips all the way aroun...


